


Yes, you read right FREE PATTERN. I Sized it 18 months as that is what she was currently wearing when I made this pattern. I used Google Doc ( since I don't know how to use anything else :p ) So please let me know if you have problem opening it. I would like to know how to fix it so everyone can use it :)
What you'll Need:
- PDF Pattern. (Cut out, taped or glued together, and ready to use.)
- Scissors or rotary cutter and mat
- Jersey knit Half yard ( Or more if you size the pattern larger)
- Sewing machine
- Pins
- Elastic
- Matching thread
Emma Leggings PDF Bottom
There is a Top and bottom to this pattern because it comes in two pieces. You will line up and glue or tape the pattern together. It's pretty easy, but If you need me to up load pictures on how to please let me know :)


Now line up and pin from the top to the point on each side. DO NOT SEW PASS THE POINT!


If you do not have these stitches on your machine the zig-zag stitch will work just as well.

Make sure you line up the bottom hems and the seams that is in the middle of your pants. Pin and sew.


Use a Zig-zag stitch or the 08 stitch that I mentioned before and stitch the elastic and top to of the pants together. As you sew you are going to want to stretch the elastic as you sew.
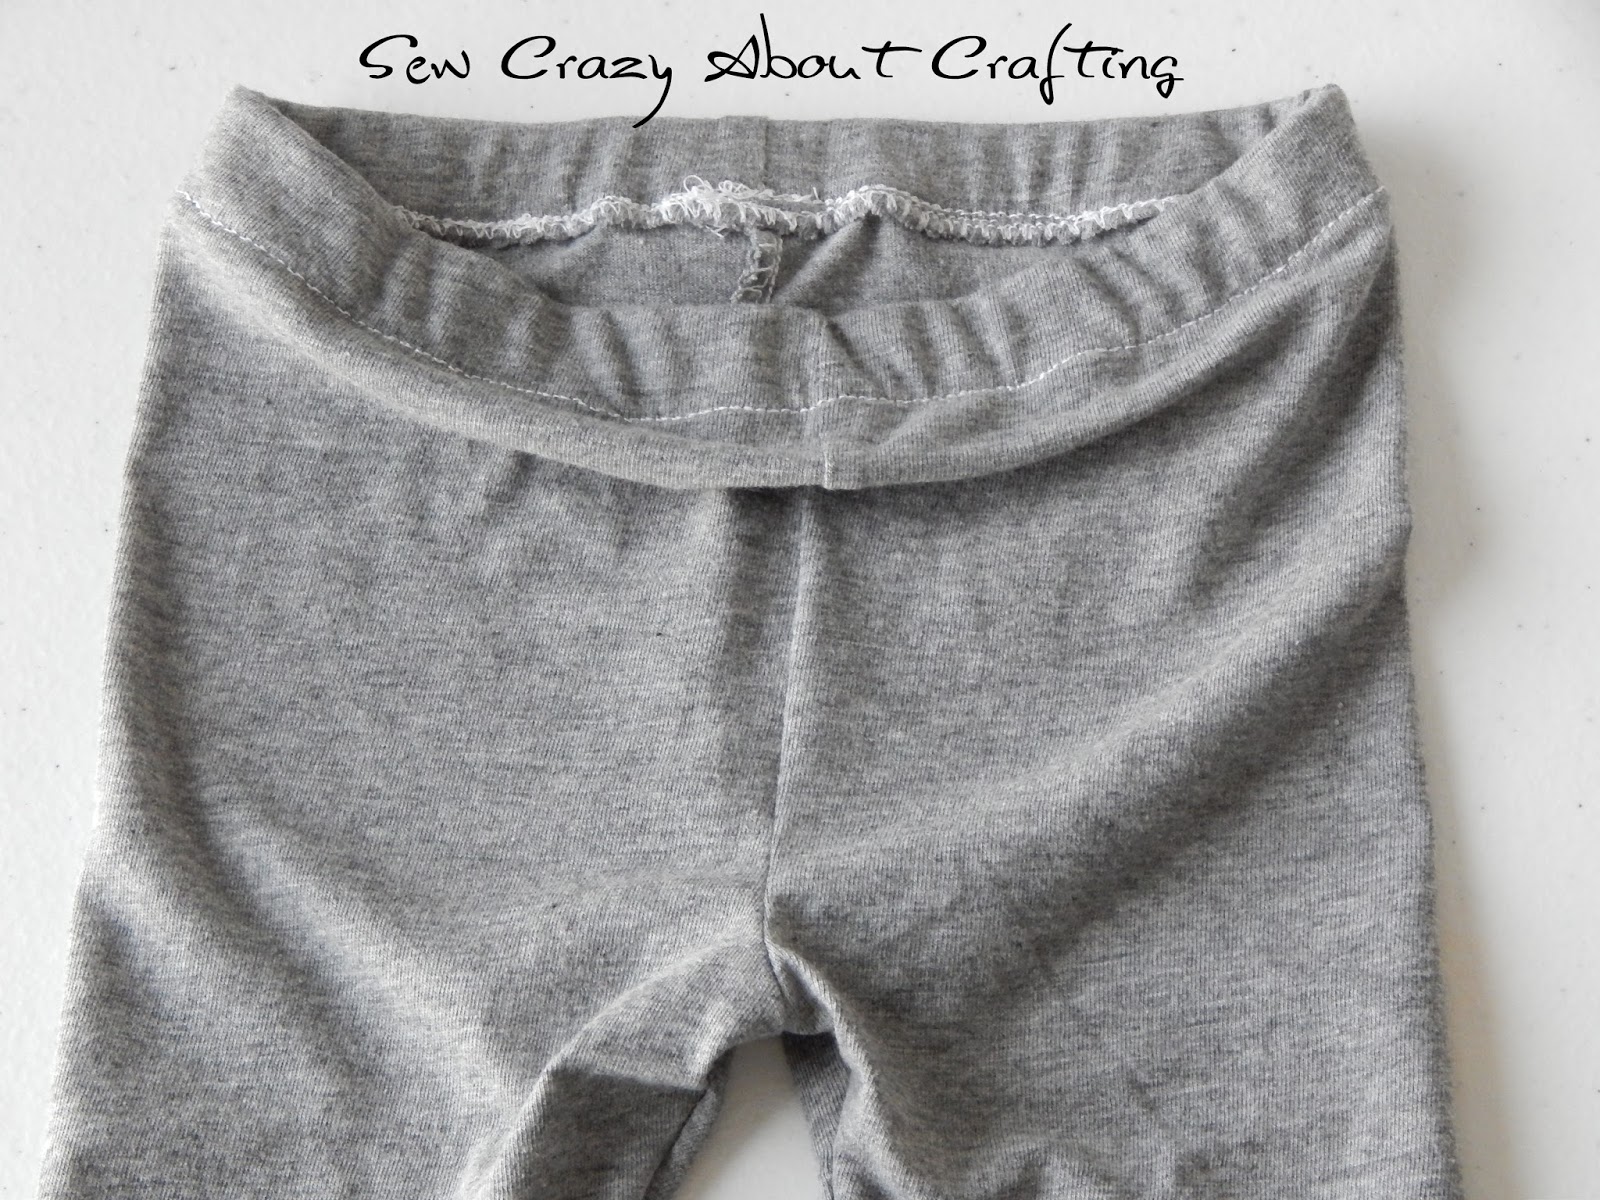
If you wish place a tag so you can tell the front from the back. I did not I just feel for the little box I made in the elastic and put that in the back when dressing her. :)
Hope you enjoyed this tutorial. If you have any questions please just ask I will help in any way I can. :)
Now some pictures of Emma wearing them. I made another Izzy Top From Climbing the Willow. I just loved how it turned out AM helped me pick out the fabric. I just fell in love with these flowers. It was such beautiful fabric. I had trouble finding the matching pink fabric to go with it and AM found and convinced me it would work perfectly. And he was right it did!
I added some inches on the shirt and turned it into a high low and I loved how it turned out!


I lined it like I lined her other Izzy shirt I made her.

Up Close isn't it so cute!
Well that is it from me. Even though it is just the beginning of summer I'm already eyeing out the Halloween fabric hahaha. I like summer alright ,but fall and winter are my favorite times of the year. Because it take me so long to cool off once I get hot. hahaha
As always,
HAVE A WONDERFUL DAY!

I will be linking up here

No comments:
Post a Comment